

Project: Student Timetable Management System using PHP and MySQL with Source Code
About Student Timetable Management System
This Student Timetable Management System enables students to see all their class and exam timetables in one place. Class representatives update the exam and class timetables. Class representatives are given special permissions to edit and insert the class and exam timetables for different schools, departments, and years of study. Students get to create accounts and select their respective details of the school, department, and year of study. All details their class reps will be updating will be shown to them. Class reps can also send notices to their respective classes, and all students in that class will get to see the information. Students also have access to a personal timetable to schedule their individual tasks and view them every day.
Features of Student Timetable Management System
Admin
- Login/Logout
- Manage Schools
- Manage Department
- Manage Students
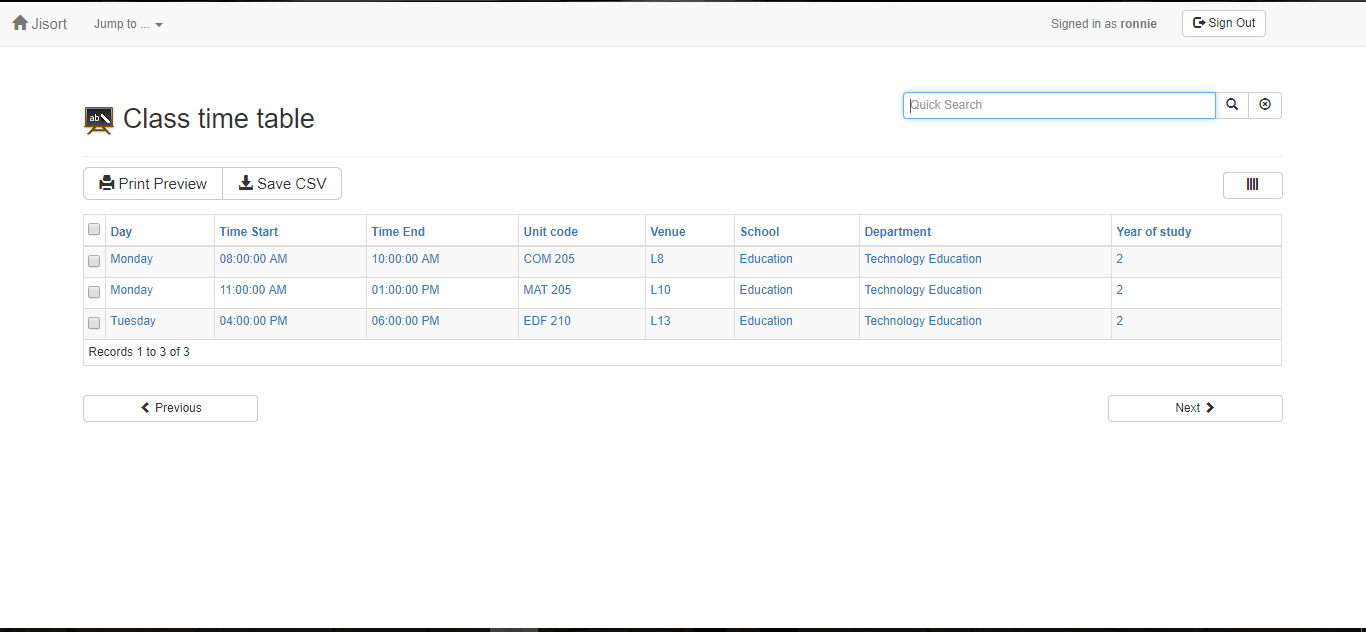
- Manage Class Time Tables
- Manage Exam Time Tables
- Submit Notices
- Manage Users
- Admin Panel
Students
- Dashboard(Displays Time Tables scheduled for the current date and etc.)
- Personal Time Table Management
- Preview Student Details
Class Representative
- Dashboard
- Manage Class Time Tables
- Manage exam Time Tables
- Submit Notices
Screenshot
How To Run??
Above all, to run this project you must have installed a virtual server i.e XAMPP on your PC. Student Timetable Management System in PHP and MySQL with source code is free to download, Use for educational purposes only!
Follow the following steps after Starting Apache and MySQL in XAMPP:
1st Step: Firstly, Extract the file
2nd Step: After that, Copy the main project folder
3rd Step: So, you need to Paste in xampp/htdocs/
Further, Now Connecting Database
4th Step: So, for now, Open a browser and go to URL “http://localhost/phpmyadmin/”
5th Step: After that, Click on the databases tab
6th Step: So, Create a database naming “jisort_db” and then click on the import tab
7th Step: Certainly, Click on browse file and select “jisort_db.sql” file which is inside the “db” folder
8th Step: Meanwhile, click on Go button.
After Creating Database,
9th Step: Moreover, Open a browser and go to URL “http://localhost/jisort”


